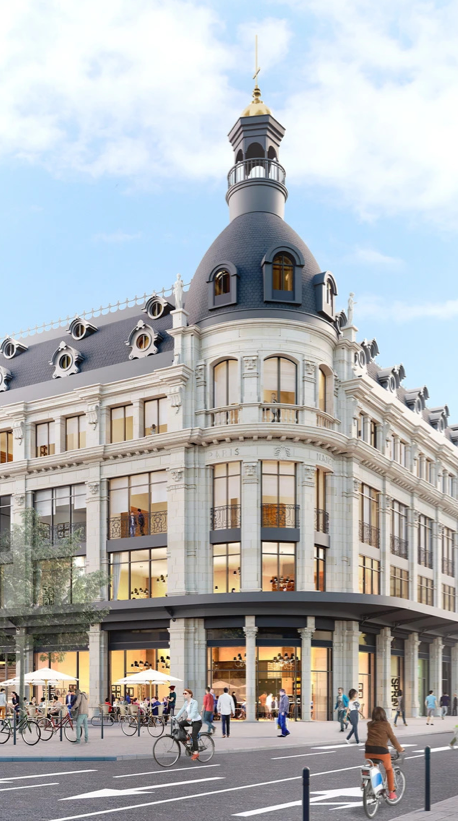
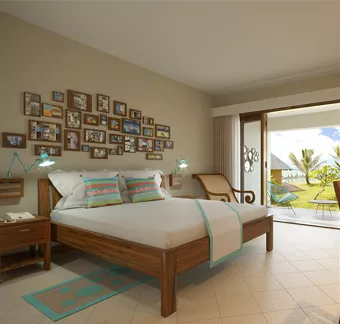
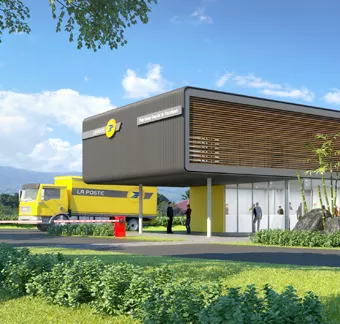
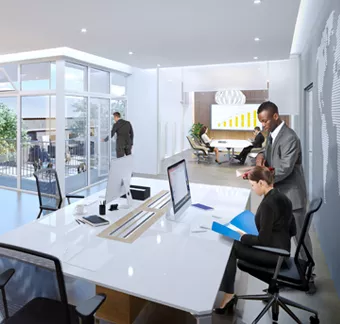
01. 3D INTERIOR AND EXTERIOR RENDER WORKFLOW
-
Step 1.
Information gathering and proposal
As soon as your query is received, we request further information (architectural plans, 3d model, interior design mood boards, a full brief of requirements in 3D) and send you a proposal.
-
Step 2.
3D modeling and creating the perspectives
We build your proposed concept in 3D, including the modelling of any furnishings for the interior concept as per the mood boards provided. create the required perspectives with preliminary lighting and send you these first renders for your comments or approval before proceeding.
-
Step 3.
3D textures and materials
Colour, textures and materials are added to the scene. The images are beginning to acquire their photorealistic quality. The newly textured scenes are then sent to you for further comments or approval.
-
Step 4.
Fine-tuning the images
Further tweaking is done to materials, lighting, and effects. The images are now nearing the completion phase and sent to you for your final comments or approval.
-
Step 5.
Final touches and post-production
With the photorealistic images now finalized, further effects and enhancements are added in post-production. Final perspectives are delivered to you in high resolution format.
02. 360-DEGREE 3D VIRTUAL TOUR WORKFLOW
-
Step 1.
Information gathering and proposal
As soon as your query is received, we request further information (architectural plans, 3d model, interior design mood boards, a full brief of requirements in 3D) and send you a proposal.
-
Step 2.
3D modeling and creating the perspectives
We build your proposed concept in 3D, including the modelling of any furnishings for the interior concept as per the mood boards provided. create the required perspectives with preliminary lighting and send you these first renders for your comments or approval before proceeding.
-
Step 3.
3D textures and materials
Colour, textures and materials are added to the scene. The images are beginning to acquire their photorealistic quality. The newly textured scenes are then sent to you for further comments or approval.
-
Step 4.
Creating the virtual tour
The virtual tour and its navigation interface are created. A first draft is sent to the client for comments or approval.
-
Step 5.
Fine-tuning
Here further tweaking is done to materials, lighting, and effects on all the renders that appear in the virtual tour. The production is now nearing the completion phase and sent to you for your final comments or approval.
03. OUR 3D ANIMATED WALK-THROUGH WORKFLOW
-
Step 1.
Information gathering and proposal
As soon as your query is received, we request further information (architectural plans, 3d model, interior design mood boards, a full brief of requirements in 3D) and send you a proposal.
-
Step 2.
3D modelling and storyboard
We build your proposed concept in 3D, with all the interior and exterior modelling for the purposes of the animation. We create a storyboard using preliminary static renders from the 3d scene and send it to you for comments or approval before proceeding.
-
Step 3.
3D textures and materials and animation
Colour, textures and materials are added to the scene. The scene is beginning to acquire its photorealistic quality. The newly textured 3D scene is animated and rendered. We do a first edit and sound effects and music are added. The animation is then sent to you for comments or approval.
-
Step4.
Fine-tuning the animation
Here further tweaking is done to materials, lighting, and effects. The animation is also fine-tuned and refined and rendered before being sent to you for your final approval.
-
Step 5.
Final touches and post-production
With the photorealistic animation now finalized, further effects and final enhancements are added in post-production. The completed animation is delivered to you in high resolution format.


